Set up vantezzen/pay and Stripe
Create the project, provider, product, price, and publishable key.
First, let's use the vantezzen/pay dashboard to create a project, connect Stripe, and finish the project setup checklist.
If you are using vantezzen/pay for the first time, you can simply follow the "First steps" guide at the top of your dashboard!
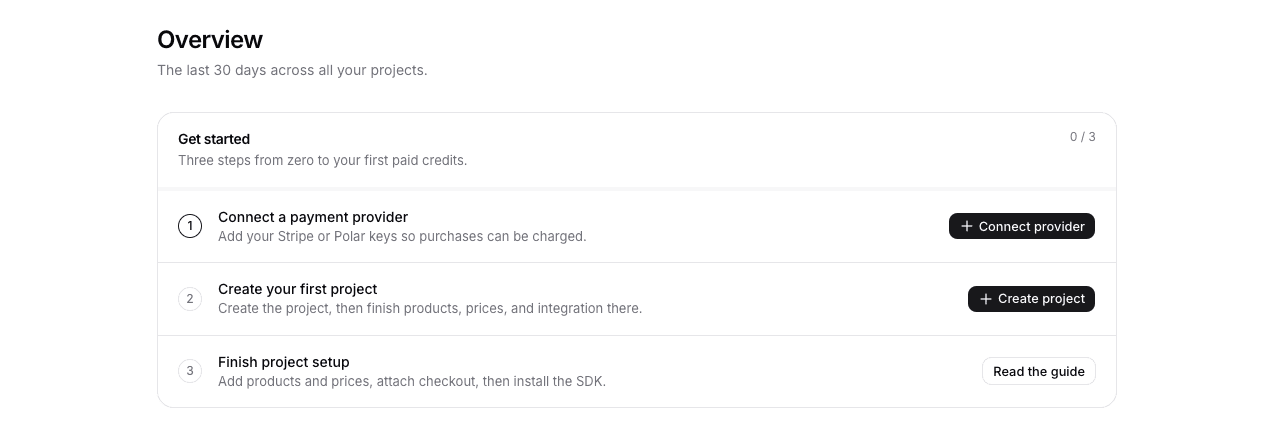
1. Connect Stripe
Open Providers and connect Stripe with a restricted test key, for example
rk_test_.... See Connect a provider for the
required scopes.
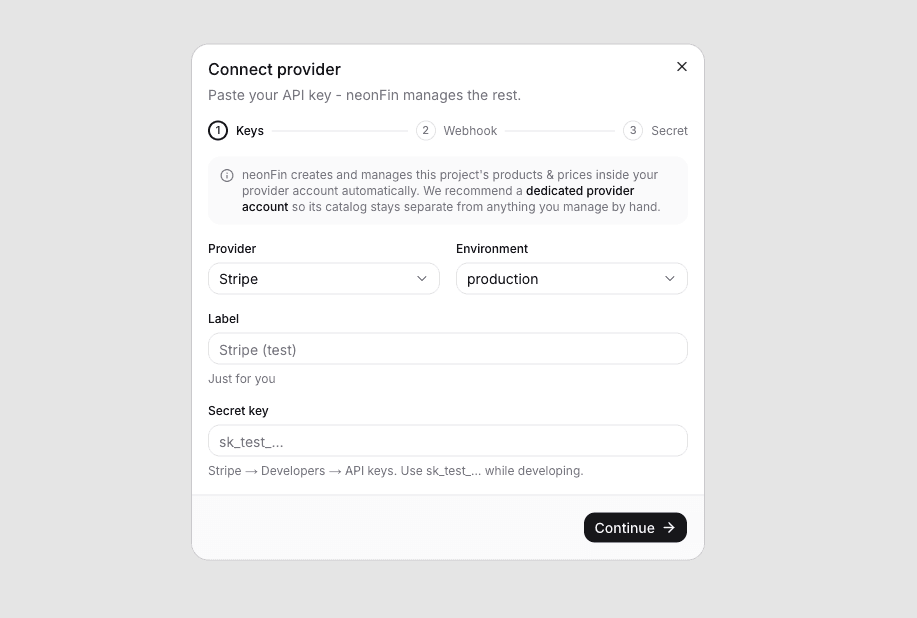
Then add the webhook endpoint shown in vantezzen/pay to Stripe and subscribe to:
checkout.session.completedinvoice.paidcharge.refundedcustomer.subscription.deleted
Paste the webhook signing secret back into vantezzen/pay.
Polar is supported too. See Connect a provider when you want the Polar event list and token details.
2. Create a project and product
In the vantezzen/pay dashboard, create a project for the app you are monetizing. vantezzen/pay opens the project page after creation and creates a default publishable key for the browser SDK.
The default identity mode is Credit codes (anonymous): vantezzen/pay automatically creates a credit wallet for each new visitor and stores a code in local storage. If your app already has user accounts, you can switch to External auth and attach wallets to your own user ids. See External auth for details on how to implement it.
Next let's add a product to the project: Use the project page's first-steps guide or the Products tab. A product is the thing users spend.
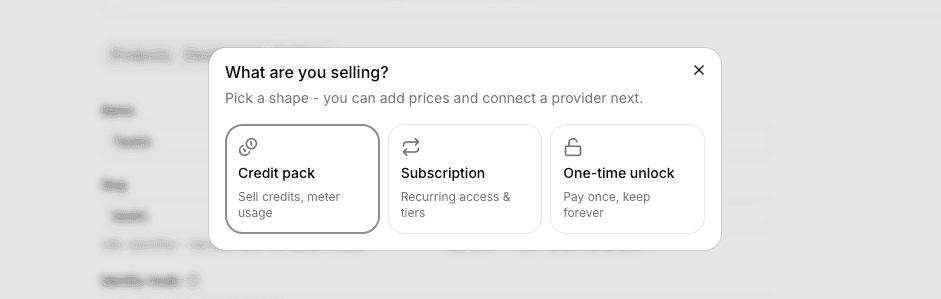
You can choose between:
- Credit pack: Users buy a pack of credits to spend. For example, 600 minutes for $5. Purchasing credits can be done once or on a recurring basis.
- Subscription: Users pay a recurring fee to get access to specific features (e.g. more advanced analytics) or get recurring credits.
- One-time unlock: Users pay a one-time fee to unlock a feature or content. For example, $10 to unlock a premium filter.
Here, choose what best describes your use-case. The different types deliberately overlap (e.g. a subscription can also grant credits, credit packs can also be purchased in a subscription), but the type you choose determines the default behavior and UI in the dashboard and components.
For a video processing app, you might create:
- Type:
Credit pack - Product:
Processing time - Credit unit:
minutes(this is what users will see) - Free grant:
120monthly
Monthly grants top the balance back up to the grant amount. They do not stack unused free credits.
3. Add a price
After the product exists, add its first price or subscription tier by clicking on the "Add pack"/"Add tier" button.
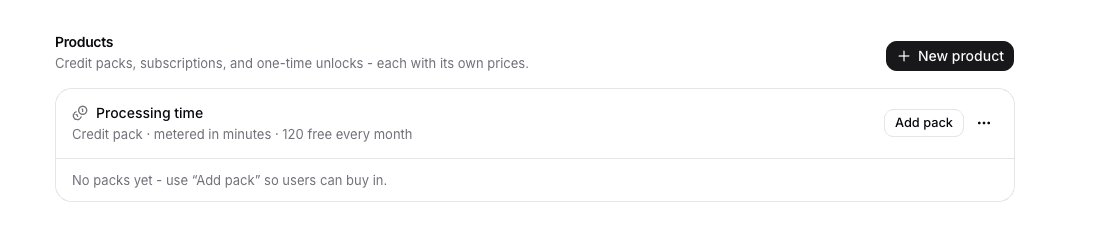
Each price is a package users can buy. For example:
| Price | Credits granted | Billing |
|---|---|---|
| $5 starter pack | 600 minutes | One-time |
| $19 monthly pack | 3,000 minutes | Monthly |
On the product card, use the provider strip and click Attach to connect the product to your Stripe account so vantezzen/pay can sync the provider catalog and create checkout sessions. vantezzen/pay creates and manages the price in Stripe automatically - you never touch the Stripe catalog yourself.
4. Integrate your app
Open the Developers tab. The default publishable key starts with pay_pk_
and is safe to put in browser code.
You will use it in the next step:
NEXT_PUBLIC_PAY_URL=https://pay.vantezzen.io
NEXT_PUBLIC_PAY_KEY=pay_pk_your_key
The Developers tab also shows a quick-start with these exact snippets - install command, env vars, and provider setup - with your real key already filled in.
Before launch, open the Settings tab and add your app domains to Allowed origins so browser calls are limited to your sites.
Alternatives
- Want Polar instead of Stripe? See Connect a provider.
- Already have login? See External auth.
- Need several credit pools? See Projects, products, and prices.
Do not put secret keys in your browser app. Secret keys are only for server-side external auth and manual credit grants.